Międzynarodowa Konferencja Metrologiczna „New Trends in Metrology”
Międzynarodowa Konferencja Metrologiczna „New Trends in Metrology”
KEYNOTE SPEAKERWhy does a metrologist need geometrical tolerances on product design drawing? |
 |
Zbigniew University of Warsaw, Poland |
ABSTRACT
EN
Tolerancing the geometry of products by the specification of dimensions and their limit deviations does not reflect how the parts are assembled and work in an assembly. The ambiguity of tolerancing by applying limit deviations (Fig. 1) to control characteristics other than sizes means that a metrologist may develop several measurement procedures for product verification that may produce different conformity assessment results. Disputes and clashes between design, manufacturing and inspection departments as well as between suppliers and customers are inevitable. A clear unambiguous language of communication between the designer, manufacturing engineer and metrologist should be used to minimise and eliminate discrepancies. For more than twenty years Technical Committee ISO/TC 213 Dimensional and geometrical product specifications and verification has been developing and revising the standards that establish ISO GPS system [1]. This presentation made it clear that geometrical tolerances should be used to determine unambiguously how much the geometry of a manufactured product may deviate from the nominal geometry. The tolerances of orientation, location, run-out and profile of a surface/line require the specification of datum or datum system i.e. the functional geometrical features, to be considered during measurements. The form tolerances applied to geometrical features such as surfaces or holes allow unique indications of permissible flatness and cylindricity deviations, which is impossible with the specification of dimensions and their limit deviations. Another advantage of specifications with the application of geometrical tolerances is that the modifiers can be used to provide comprehensive control over allowable geometrical-dimensional variability. The maximum material requirement is shown whose intended function is to secure the assemblability which depends on the combined effect of size deviation and geometrical deviation. The summary highlights, among other things, new challenges related to the specification of geometrical tolerances in 3D technical product documentation and filtration of the point clouds obtained from measurement using coordinate measuring systems. It is also emphasised that application of geometrical tolerances ensures the quality of products, and eliminates disputes between supplier and customer thus reducing cost and time to the market.
[1] Z. Humienny: State of art in standardization in the geometrical product specification area a decade later. CIRP J. Manuf. Sci. Technol., 33, (2021) 42–51.
SPEAKER BIOGRAPHY
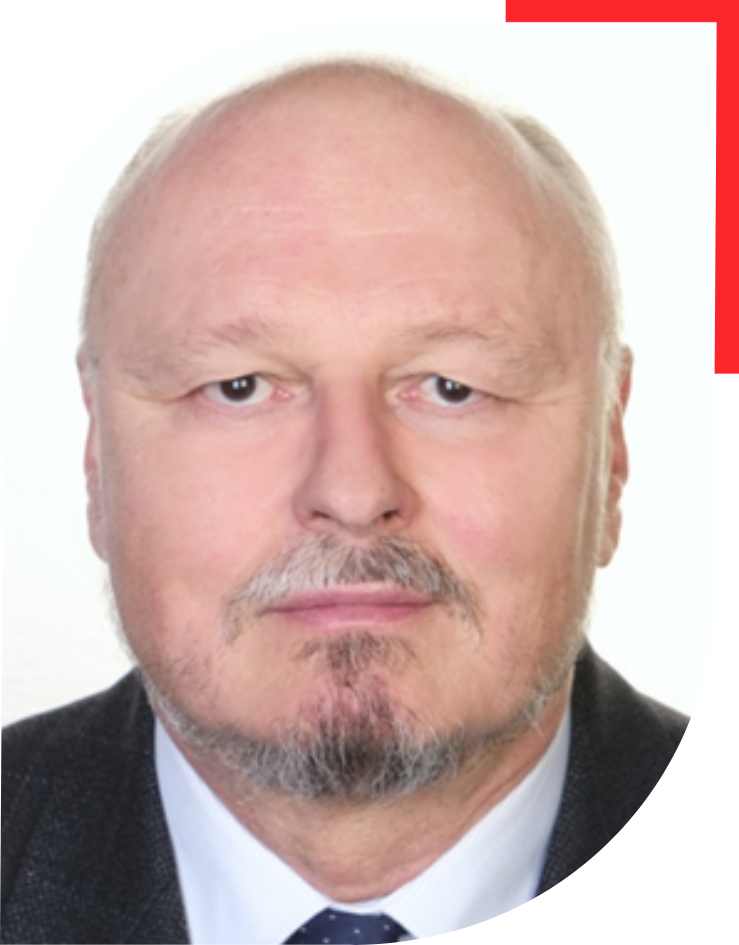
Zbigniew Humienny
PL
Ph.D. Eng., D.Sc. Zbigniew Humienny works at the Institute of Machine Design Fundamentals at the Faculty of Automotive and Construction Machinery Engineering at Warsaw University of Technology (WUT). He graduated from the Precision Engineering Faculty at WUT and received Ph.D. and D.Sc. degrees at Warsaw University of Technology. His main scientific interests include dimensional tolerancing, geometrical tolerancing and their verification, in particular using coordinate measuring techniques. He is an author or co-author of over 150 scientific papers published in scientific journals and conference proceedings. He led the European project under the Leonardo da Vinci programme, which resulted, inter alia, in the monograph Geometrical product specifications (GPS) – European handbook (Humienny Z. (ed.), Osanna P.H., Tamre M., Weckenmann A., Blunt L., Jakubiec W. et al., WNT 2004). He is co-author of the University textbook Metrology with fundamentals of geometrical product specifications (GPS), for which he wrote the author's chapter Geometrical tolerances and together with Prof. S. Białas and Dr K. Kiszka, prepared the other chapters (2nd edition, Publishing House of the Warsaw University of Technology 2021). He was twice elected Chairman of Technical Committee TC 48 on Machine Design Fundamentals at the Polish Committee for Standardisation, PKN, (from 2018, in the years 2004-2018 he served as a deputy chairman). In 2000 he was nominated as an expert of the Polish Committee for Standardisation in the Technical Committee ISO/TC 213 Dimensional and geometrical product specifications and verification. He has participated in many ISO/TC 213 meetings as the PKN representative and is currently PKN's nominated expert for eleven working groups at Technical Committee ISO/TC 213. In 2010, he was appointed by the President of PKN as a member of the Technical Committee TC 257 on General Metrology to support the work of TC 257 on the metrology of geometrical quantities. He works closely with the automotive, aerospace and defence industries. Since 2006, he has delivered many two-day seminars on geometrical tolerances in both Polish and English for designers, manufacturing engineers and quality staff directly involved in production. He has received fellowships at the University of North Carolina at Charlotte at the Centre for Precision Metrology (USA) and DAAD at the Department of Engineering Design/CAD at the University of Saarland in Saarbruecken (Germany). He is a member of the scientific committees of four international conferences; including CIRP Conference on Computer Aided Tolerancing. Dimensional and geometrical tolerances, in which he is a respected expert, are both his job and his passion.

Projekt współfinansowany ze środków Unii Europejskiej w ramach Europejskiego Funduszu Społecznego, Program Operacyjny Wiedza Edukacja Rozwój 2014-2020
"PL2022 - Zintegrowany Program Rozwoju Politechniki Lubelskiej" POWR.03.05.00-00-Z036/17